
Discovering a roof leak or damaged shingles can leave homeowners wondering what happens next. Will the contractor replace a few shingles? Will the damaged area need to be opened? How can you know whether the repair will address the actual problem?
A professional roof repair typically involves seven steps: inspecting the roof, identifying the damage, explaining the recommended work, preparing the repair area, removing damaged materials, installing replacement components, and checking the completed repair.
For Atlanta homeowners, understanding this process makes it easier to evaluate repair recommendations, ask informed questions, and protect their homes from further water intrusion.
What Happens During a Typical Roof Repair?
Although every roof is different, a professional repair generally follows a structured process.
The main steps include:
Inspecting the roof and documenting concerns
Identifying the source and extent of damage
Developing a repair plan and estimate
Preparing and protecting the work area
Removing damaged roofing materials
Installing and integrating replacement components
Inspecting the completed work and reviewing the results
The exact procedure depends on the roofing material, roof design, weather conditions, and type of damage.
A missing-shingle repair may be relatively straightforward. Repairing a leaking chimney, valley, or deteriorated roof deck may require more extensive work.
Step 1: Inspect the Roof and Document the Damage
The repair process begins with an assessment of the roofing system.
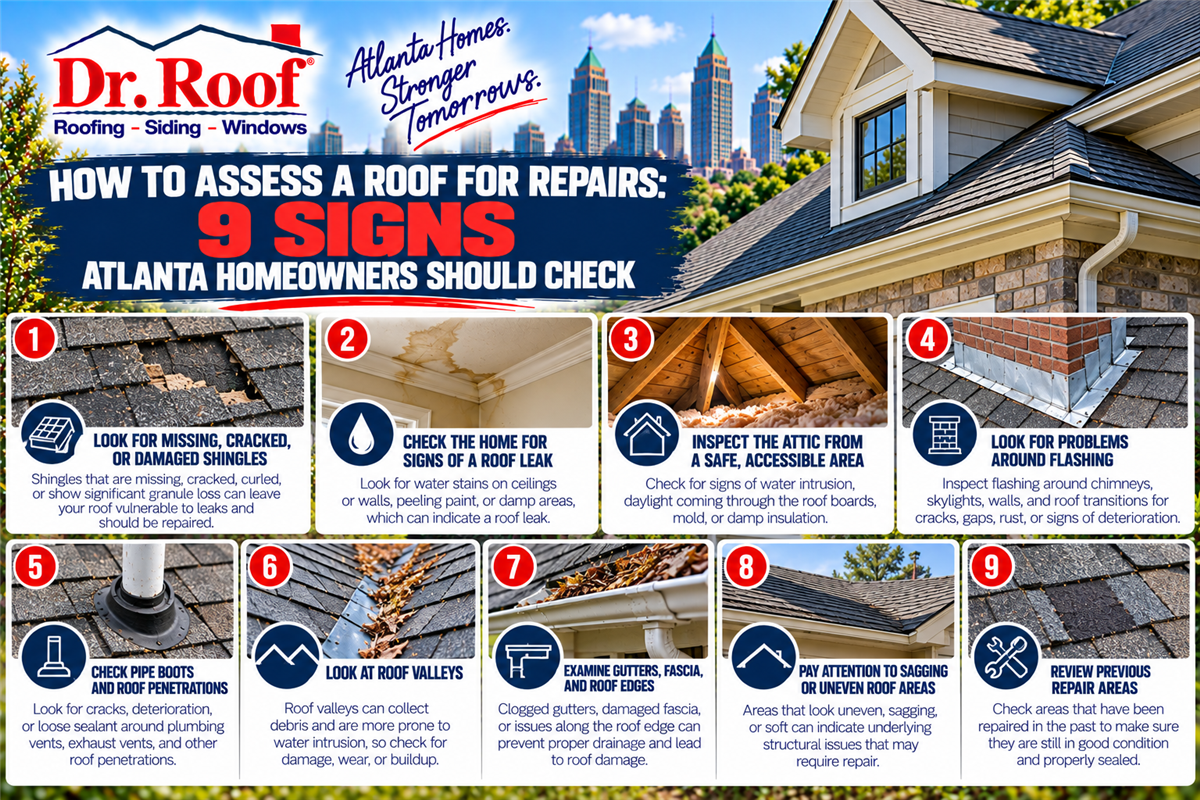
A contractor may examine:
Missing, cracked, or lifted shingles
Flashing around chimneys and walls
Plumbing vents and pipe boots
Roof valleys
Ridge and roof-edge details
Previous repair areas
Signs of moisture intrusion
Accessible attic and decking conditions
The purpose is to understand the roof's condition before recommending work.
Why Is the Initial Inspection Important?
A visible problem may not be the only damaged component.
For example, a missing shingle could expose deteriorated underlayment, while a ceiling stain could result from damaged flashing several feet away.
A thorough inspection helps distinguish a localized repair from a broader roofing problem.
Atlanta homeowners should also explain when the problem first appeared, particularly if it followed heavy rain, hail, or strong winds.
Step 2: Identify the Source of the Problem
Finding the actual source of a roof leak is one of the most important parts of the repair process.
Water does not always appear inside the home directly beneath the entry point.
It can travel along decking, framing, insulation, or other materials before becoming visible.
A contractor may investigate:
Damaged shingles
Deteriorated flashing
Cracked pipe boots
Roof-to-wall intersections
Chimney details
Skylight flashing
Valleys
Previous repair locations
Why Shouldn't You Simply Patch the Visible Leak?
Applying sealant over a suspected opening may provide temporary protection in some situations, but it does not necessarily address the underlying cause.
If the actual problem involves improperly integrated flashing or damaged materials beneath the shingles, the repair may require removing and replacing those components.
A reliable repair should address the identified defect rather than conceal the symptom.
Step 3: Develop a Repair Plan and Written Estimate
Once the problem has been identified, the contractor should explain the recommended repair.
A useful proposal may describe:
The location of the damage
The likely cause
Materials requiring removal
Replacement materials
Flashing or underlayment work
Known decking concerns
Labor and cleanup
Warranty information
Potential conditions that may require additional work
What Should Homeowners Ask Before Approving the Repair?
Consider asking:
What caused the damage?
Is the problem limited to one area?
Will surrounding shingles need to be removed?
Are compatible materials available?
Could hidden decking damage affect the scope?
What happens if additional damage is discovered?
What workmanship coverage applies?
Clear communication helps homeowners understand what the contractor is proposing and why.
Step 4: Prepare and Protect the Repair Area
Before beginning the physical repair, the crew prepares the work area.
Depending on the project, preparation may include:
Establishing safe roof access
Positioning equipment
Protecting landscaping or exterior surfaces
Identifying areas where debris may fall
Confirming suitable weather conditions
Organizing replacement materials
Roofing work involves elevated surfaces, sharp materials, and fall hazards.
Homeowners should not attempt to climb onto the roof to assist with repairs.
Can Roof Repairs Be Completed During Rain?
Some emergency measures may be necessary to limit active water intrusion, but permanent repairs often require appropriate weather and surface conditions.
The contractor should determine when the work can be completed safely and according to the roofing product's installation requirements.
Step 5: Remove Damaged Roofing Materials
After preparing the area, the crew removes the materials necessary to access the damaged section.
For an asphalt-shingle roof, this may involve carefully lifting or removing surrounding shingles and fasteners.
Depending on the problem, the contractor may also remove:
Damaged underlayment
Deteriorated flashing
A failed pipe boot
Compromised valley components
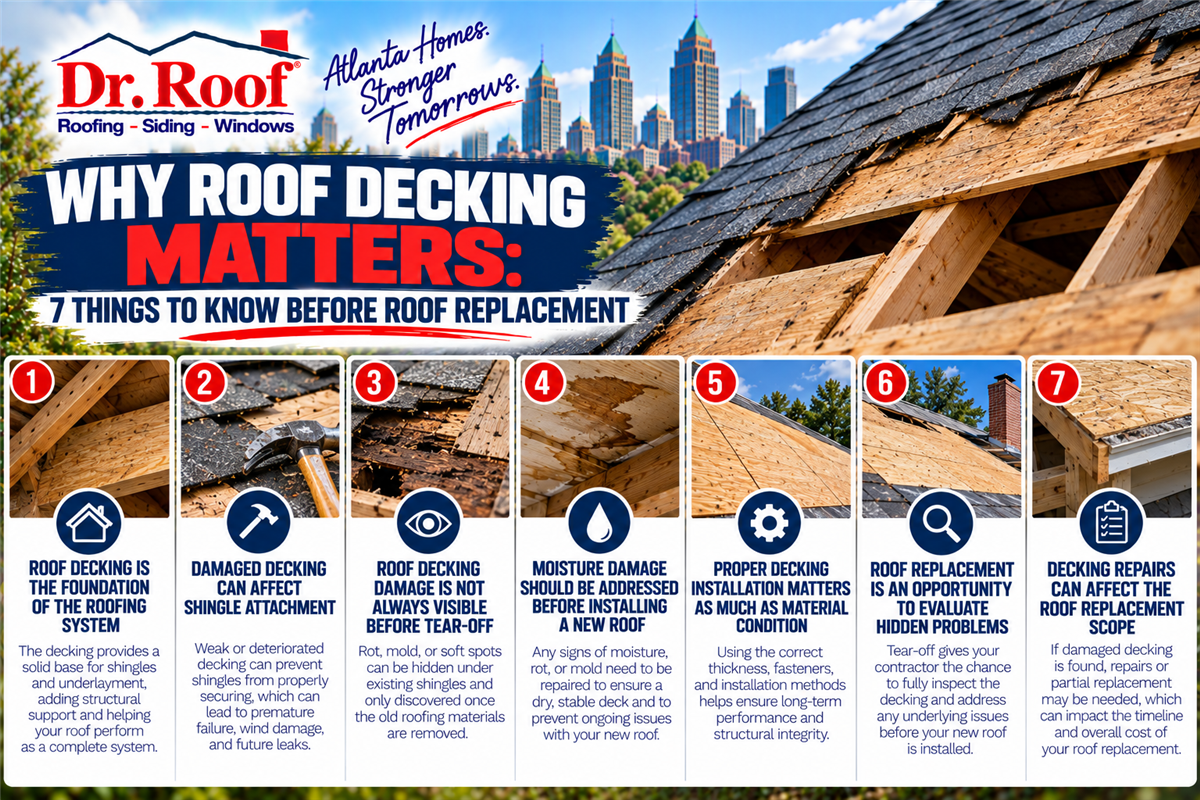
Limited sections of damaged decking
The amount of removal depends on the repair.
What Happens If Damaged Decking Is Discovered?
Roof decking forms the supporting surface beneath the roofing materials.
If the contractor discovers rot, deterioration, or other damage that affects its suitability, the affected section may need replacement.
The contractor should document the condition and explain any necessary changes to the approved repair scope.
Installing new shingles over unsound decking would not correct the underlying problem.
Step 6: Install Replacement Materials
Once the damaged components have been removed and the repair area is ready, the contractor installs the necessary replacement materials.
These may include:
Roof decking
Underlayment
Leak-protection components
Flashing
Pipe boots
Asphalt shingles
Ridge or valley materials
The specific installation method depends on the roofing system and manufacturer's instructions.
Why Does Proper Material Integration Matter?
Roofing materials are designed to work together to shed water.
Replacing a shingle is not simply a matter of covering an opening.
The new material must be appropriately positioned, fastened, and integrated with surrounding components.
Similarly, flashing must direct water onto the intended drainage surface rather than behind the roofing materials.
Correct installation details are essential to a lasting repair.
Step 7: Inspect the Completed Repair and Review the Results
After the repair is complete, the contractor should check the finished area.
A final review may include:
Confirming materials are properly installed
Checking flashing transitions
Reviewing shingle alignment
Checking exposed fasteners and finishing details
Removing debris
Inspecting the surrounding work area
Explaining the completed repair
Photographs can help homeowners understand what was removed and replaced.
Does a Completed Repair Guarantee the Roof Will Never Leak Again?
No.
A properly performed repair should address the identified problem, but other roofing components can develop separate issues.
A repair also does not reverse aging or deterioration elsewhere on the roof.
Homeowners should understand the scope of the work and the terms of any applicable warranty.
What Types of Roof Damage Can Be Repaired?
Professional roof repair may be appropriate for several localized problems.
Missing or Damaged Shingles
A contractor may replace affected shingles when the surrounding roofing materials remain serviceable.
Leaking Pipe Boots
A deteriorated pipe boot or flashing assembly may be replaced to restore appropriate protection around a roof penetration.
Flashing Problems
Localized flashing defects around chimneys, skylights, or walls may be repairable without replacing the entire roof.
Limited Storm Damage
Wind or hail damage affecting a small, repairable section may be addressed through targeted work.
Localized Decking Damage
Limited decking deterioration may sometimes be repaired as part of a properly scoped roofing project.
Each situation requires evaluation before a repair method is selected.
How Long Does a Typical Roof Repair Take?
Repair time depends on the scope and complexity of the work.
Factors include:
Roof pitch and accessibility
Number of damaged areas
Weather conditions
Material availability
Flashing complexity
Decking condition
Safety requirements
A small repair may require less time than a project involving extensive flashing or structural work.
Homeowners should request a project-specific schedule rather than assuming every roof repair takes the same amount of time.
How Do You Know Whether Repair Is Better Than Replacement?
A targeted repair may make sense when the damage is localized and the surrounding roofing system remains in serviceable condition.
Replacement may deserve consideration when:
Shingle deterioration is widespread
Multiple leaks continue developing
Extensive decking damage is present
Previous repairs repeatedly fail
Materials cannot be repaired reliably
Large portions of the roof are damaged
The decision should be based on the actual condition of the roof rather than age alone.
What Should Atlanta Homeowners Do When a Roof Starts Leaking?
If water is entering the home, take reasonable steps to protect people and belongings.
Move valuables away from the affected area and contain dripping water when it is safe to do so.
Avoid electrical fixtures and wiring near active water intrusion. If water is near electrical equipment, seek appropriate professional assistance.
Document visible damage and contact a roofing professional.
Do not climb onto a wet or damaged roof.
How Dr. Roof Approaches Roof Repair in Atlanta
Dr. Roof has served Atlanta-area homeowners since 1988, providing professional roof inspections, repairs, replacement, and storm-damage documentation support.
A roofing evaluation can help determine whether the concern involves damaged shingles, flashing, roof penetrations, decking, or another part of the system.
For storm-related roofing concerns, Dr. Roof may provide photographs, written findings, and repair or replacement recommendations.
If an insurance claim is involved, coverage decisions belong to the insurer and depend on the individual policy and claim.
Understanding the Repair Process Helps You Make Better Decisions
A professional roof repair should begin with identifying the problem and end with a clear explanation of the completed work.
The seven-step process—inspection, diagnosis, planning, preparation, removal, installation, and final review—helps homeowners understand what is involved.
Whether the issue is a missing shingle, leaking flashing, or a damaged pipe boot, the goal is to correct the actual roofing problem using appropriate materials and installation methods.
For Atlanta homeowners, knowing what to expect makes it easier to ask the right questions and choose a repair based on the roof's real condition.
What are the steps in a typical roof repair?
A typical professional roof repair involves inspecting the roof, identifying the damage, developing a repair plan, preparing the work area, removing damaged materials, installing replacement components, and checking the completed repair. The exact process depends on the roofing system and damage.
How do roofers find the source of a roof leak?
Roofers evaluate shingles, flashing, roof penetrations, valleys, attic conditions, and previous repair areas. Because water can travel along building materials, the visible interior stain may not be directly beneath the actual entry point.
How long does a roof repair usually take?
The time depends on the repair's size, roof accessibility, weather, material availability, and whether flashing or decking needs work. A contractor should provide an estimate based on the specific roof.
Can damaged shingles be repaired without replacing the entire roof?
Often, yes. Localized shingle damage may be repairable when surrounding materials remain serviceable and compatible replacements are available. Widespread deterioration may require a broader solution.
What happens if a roofer discovers damaged decking?
The contractor should evaluate and document the damaged decking, explain the additional work needed, and obtain approval for changes to the repair scope. Unsound decking should be addressed before installing new roofing materials over it.
Should homeowners attempt their own roof repairs?
Roof repairs involve fall hazards and installation details that can be difficult to evaluate. Homeowners can document visible concerns from safe locations, but close inspection and repair work are best handled by qualified roofing professionals.
Subscribe to Dr. Roof's Blog






Comments